These 360 photo booth space requirements start with more than the diameter of the platform. You need a flat operating area for the platform and camera arm, a safe route for guests to enter and leave, room for the queue, and enough access for the supplier to set up without blocking the event.
That matters in Gauteng venues where a room can look spacious on a floor plan but become tight once tables, a bar, staging, décor and guests are in place. Measure the complete guest experience, then ask the supplier to confirm the exact footprint for the equipment being booked.
360 photo booth space requirements: the short answer
There is no universal room size that applies to every 360 photo booth. The required area depends on the platform, the rotating camera arm, lighting, the attendant position, the route guests use to get on and off, and how the venue manages the queue.
Current South African supplier guidance shows why it is risky to copy one number. Propel Photo Booths asks for approximately 10 feet by 10 feet, or about 3 m by 3 m, while Moose Booths’ 360 page asks for 4.5 m by 4.5 m. Those are useful planning benchmarks from individual suppliers, not a specification for every machine or for Selfie Cube.
Selfie Cube’s Selfie 360 photo booth page describes the requirement as a flat, stable area with clear space around the platform and rotating arm. That is the right starting point: plan the operating zone and the movement around it, rather than treating the platform as the whole footprint.
What the space must include
A good venue check accounts for every part of the booking, not only the moment when guests are posing. Use these five zones when looking at a room or drawing a floor plan.
| Zone | What to allow for | Why it matters |
|---|---|---|
| Operating zone | The platform, rotating arm and any supplier equipment around it | The arm must move freely without touching people, walls, décor or furniture. |
| Guest route | A clear way to step onto the platform, pose and leave | Guests should not cross the camera path or squeeze between tables. |
| Queue | A visible waiting line that does not block entrances, food service or speeches | A popular activation can create a queue even when the platform itself is compact. |
| Attendant position | A safe working position with a clear view of the platform | The attendant needs to guide guests and notice trip hazards or unsafe movement. |
| Sharing and access | Any agreed power, connectivity, lighting and equipment access requirements | Guests need a simple hand-off after the experience, and the supplier needs a workable setup route. |
The zones do not all need to be separate rooms. They do need to work together. A platform placed beside the dance floor may have enough floor area but still be a poor position if guests, dancers and waiters all use the same route.
How to measure the venue
1. Start with the usable floor, not the room dimensions
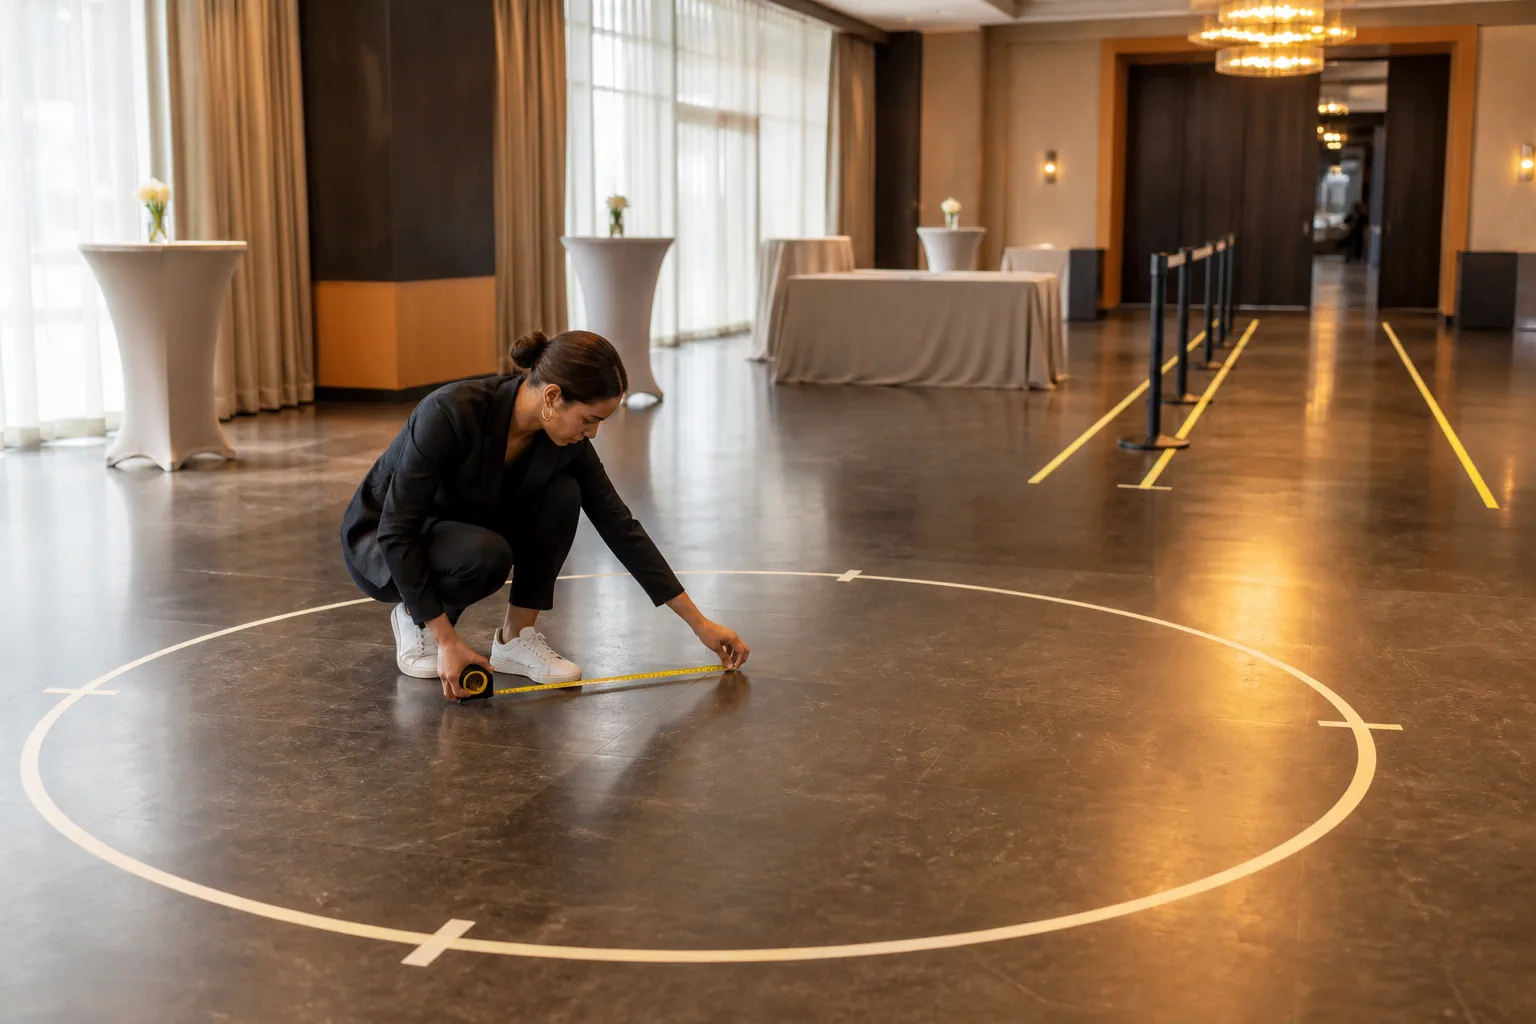
Measure the clear floor after fixed items are excluded. Columns, low furniture, built-in bars, stage edges, flower arrangements and buffet tables can remove more usable space than expected. If the venue has a floor plan, mark these obstructions rather than relying on the room’s advertised size.
2. Mark the full operating area
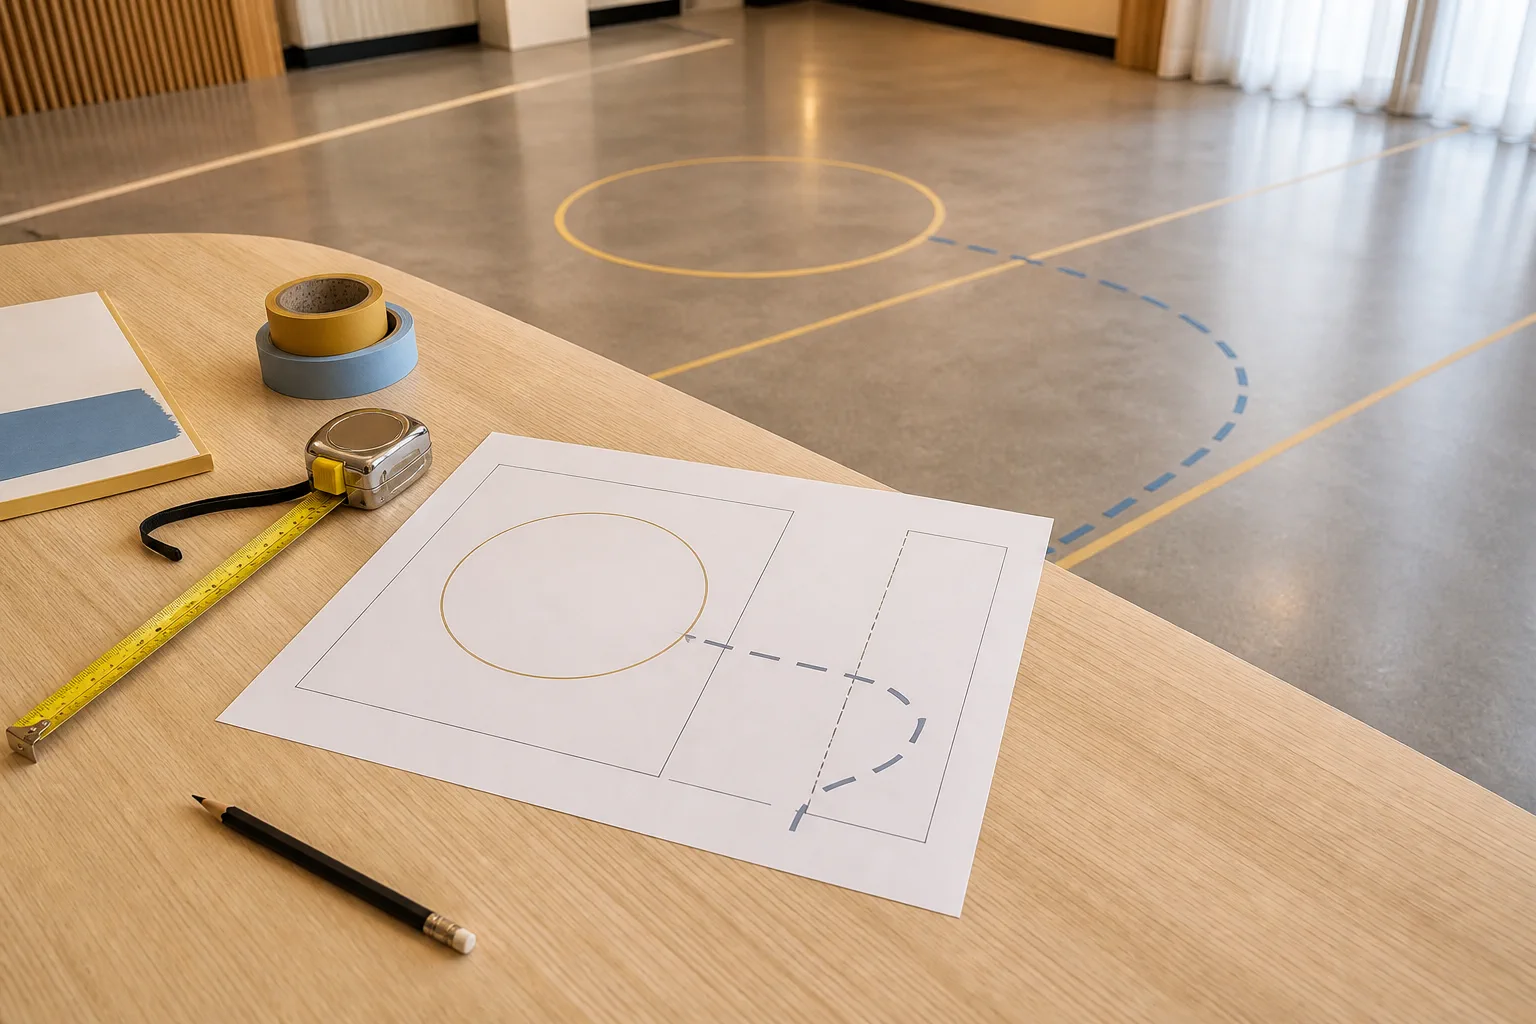
Use removable floor tape or a simple paper plan to mark the proposed platform position and the area around it. A circle is helpful for showing the camera’s movement, but also mark the entry and exit route. If the supplier has provided a footprint, use that as the starting measurement and ask what clearance must remain beyond it.
3. Check overhead and side obstructions
Look up as well as down. Ceiling features, chandeliers, beams, hanging décor and low bulkheads can affect where the camera arm can operate. Check the narrowest point of the proposed area, not only the centre of the room.
4. Trace the setup route
Measure the route from the loading point to the room. Include lifts, doorways, ramps, stairs and security access. A venue can have enough final floor space but still be difficult if equipment cannot reach it without a long detour or a late setup.
5. Draw the guest flow
On the same plan, draw where guests wait, where they enter, where they exit and where they receive or share their content. Keep that flow away from the main service route. Send the plan, photographs and venue rules to the supplier before the booking is finalised.
A practical layout checklist
Use this checklist when you inspect a conference room, wedding venue, restaurant, private home or outdoor event area.
| Check | Questions to answer before booking |
|---|---|
| Floor | Is it flat, stable, dry and free from loose rugs, slippery patches or uneven joins? |
| Clearance | Can the platform and rotating arm operate without hitting walls, furniture, guests or décor? |
| Access | Can the supplier reach the area through the doors, lift and corridors during the agreed setup window? |
| Queue | Where will waiting guests stand, and will that line block a door, bar, buffet or emergency route? |
| Visibility | Can guests find the activation without walking through a speech, meal service or dance area? |
| Overhead | Are there chandeliers, beams, fans, hanging décor or low ceilings near the camera movement? |
| Power and sharing | What does this supplier’s equipment need for operation, lighting, content sharing or charging? |
| Weather | If the event is outdoors, is the surface protected and suitable for the equipment and the guests? |
Do not assume that the venue’s Wi-Fi, power or event furniture plan is automatically suitable. Confirm the requirements with the supplier and the venue coordinator together. This avoids a last-minute change that moves the activation into a corridor or blocks the guest route.
Gauteng venue considerations
In Johannesburg, Sandton, Midrand, Centurion and Pretoria, the same booking can move between very different spaces. A hotel ballroom may have a generous open centre but strict load-in times. A corporate launch may have branding walls and demo stations that reduce the clear floor. A wedding at a restaurant or estate may have a beautiful outdoor area but an uneven surface, weather exposure or limited power.
For a conference or year-end function, place the 360 experience where the queue can be seen without competing with registration or catering. For a wedding, check whether the platform will be used during photographs, the reception or dancing, then plan a route that does not cut across the bridal party’s movement. For an activation, include the queue and sharing point in the brand or sponsor layout from the beginning.
Ask the venue for its floor plan, loading instructions, setup window and restrictions on tape, power leads, ceiling fixtures and outdoor equipment. If the venue cannot provide a plan, take wide and close photographs from the proposed position and include measurements from the nearest walls, doors and fixed furniture.
Once the position is workable, the photo booth hire page is the right place to review the booking route and next steps.
When space is limited
A smaller venue does not automatically rule out a 360 experience, but it does make the decision more sensitive to layout. If there is no complete clear area for the platform and camera movement, or if the queue would block a critical route, ask the supplier whether another position or format is safer.
The choice is also about the type of guest experience you want. A 360 setup creates moving digital video around guests on a platform. A printed photo booth usually uses a different footprint and guest flow. Compare the output, interaction and venue fit in this 360 photo booth versus printed photo booth guide before you commit to a layout.
If the venue has a narrow but usable wall position, a different photo booth format may be more comfortable for guests. If the motion experience is the priority, protect the complete operating zone and reduce nearby furniture instead of forcing the setup into a tight corner.
The final supplier checklist
Before you approve the venue position, use these 360 photo booth space requirements to prepare the supplier brief:
- the venue name, suburb and event date;
- the measured clear floor area and a marked-up floor plan;
- photographs showing walls, ceiling, doors, furniture and nearby traffic;
- the proposed queue, entry and exit route;
- the setup and breakdown times, loading route and lift details;
- any outdoor, weather, power, Wi-Fi or venue restrictions; and
- the expected number of guests and the busiest part of the event.
Then ask one direct question: “Can you confirm that this exact position and layout will work for your 360 photo booth?” Get the answer in writing, especially when the venue’s quoted room size is close to the supplier’s minimum.
Frequently asked questions
Is 3 m by 3 m always enough for a 360 photo booth?
No. Some suppliers publish 3 m by 3 m as a typical starting point, while others request a larger area. The machine, operating clearance, queue and venue layout all affect the answer. Treat public numbers as supplier-specific guidance and confirm the exact equipment footprint.
Does the platform diameter equal the required floor space?
No. The platform is only one part of the setup. You also need clearance for the rotating camera arm, a route for guests, an attendant position and a queue that does not obstruct the venue.
Does a 360 photo booth need power?
Requirements vary by supplier and package. Selfie Cube’s current 360 service page describes the setup as battery powered and cordless, but you should still confirm requirements for lighting, content sharing and charging for your booking.
Can a 360 photo booth be used outdoors?
It may be possible when the surface, weather protection and access are suitable. Selfie Cube asks customers to mention an outdoor event so the team can confirm a suitable position and conditions. Do not place equipment on an uneven, wet or exposed surface without supplier approval.
How many people can stand on a 360 platform?
Selfie Cube’s service page says up to five guests can stand on its platform at once. Comfortable group size, guest movement and the specific equipment can vary, so confirm the practical limit for your event rather than planning only from a maximum number.
For broader planning help, use the South African photo booth planning guide, then share your measured venue details with the supplier. A few minutes with a tape measure and a marked-up floor plan can prevent a difficult change on the event day.
Need help checking your venue?
Share your venue, date, guest profile and measured floor area. We can help you turn the details into a practical 360 photo booth plan and quotation.