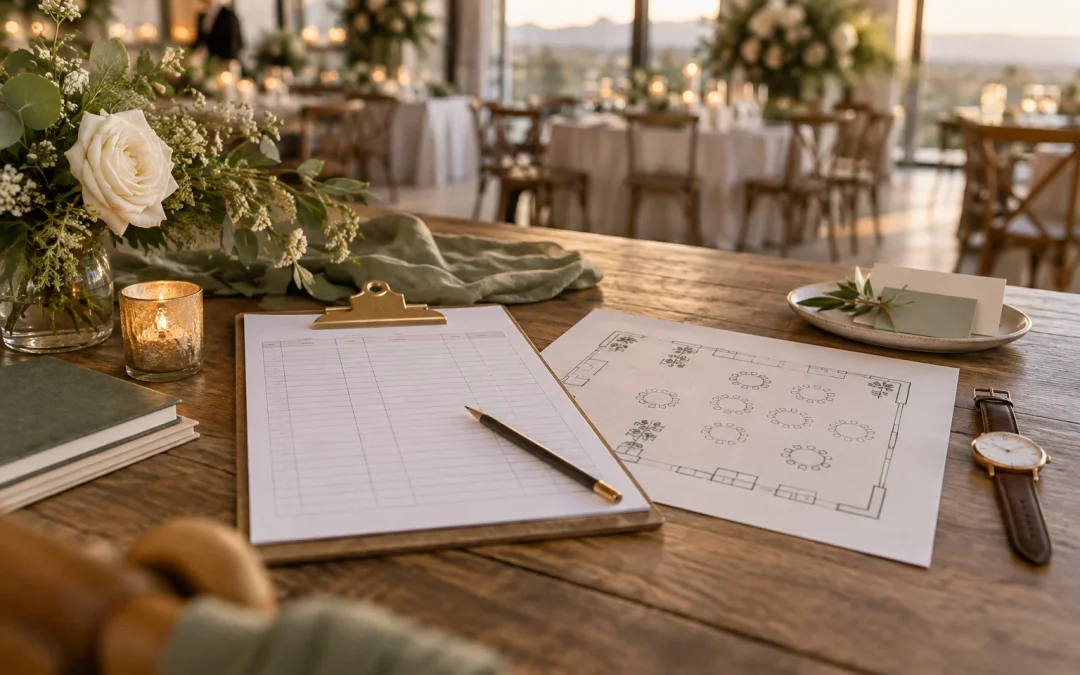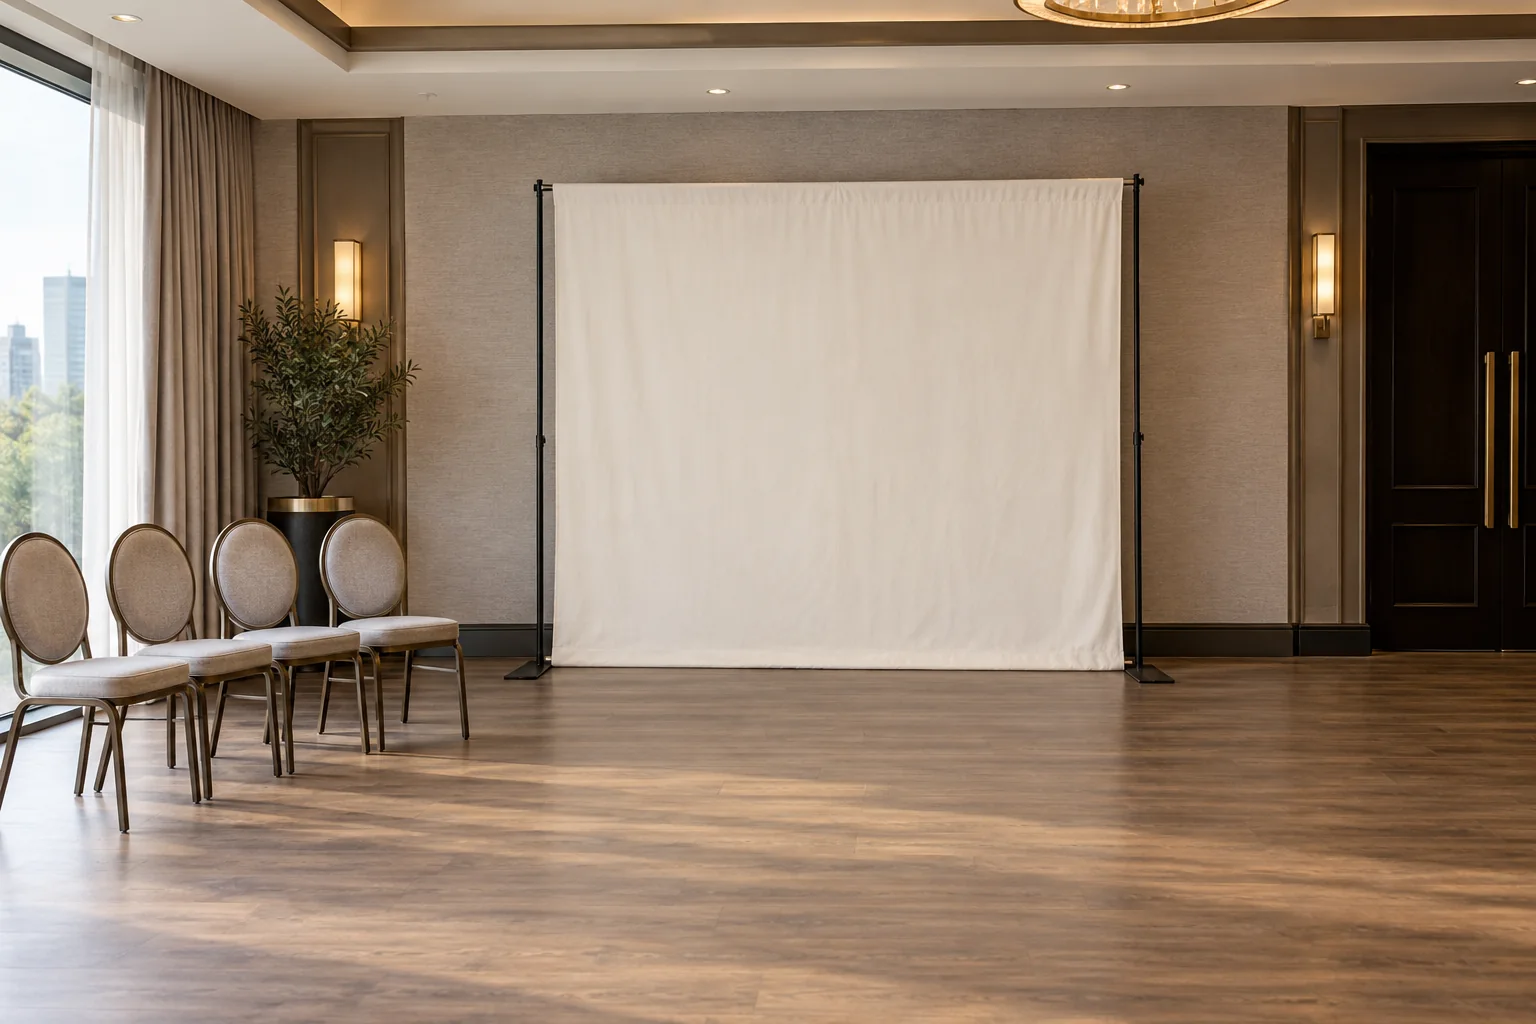
Start with the photograph you want, then check the room. The right photo booth backdrop size is the size that fills the camera frame for the groups you expect, fits the usable part of the venue and can be installed safely. A panel can look generous on a product page but appear narrow once the camera, people and room layout are considered.
Before you confirm a photo booth backdrop size, ask the supplier for its actual width and height, the visible area in a test photograph, and the full setup space needed in front of it. Those are related measurements, but they are not the same thing. This guide gives you a practical way to measure the venue and send the supplier the information needed to recommend a suitable setup.
Start with the photo you want
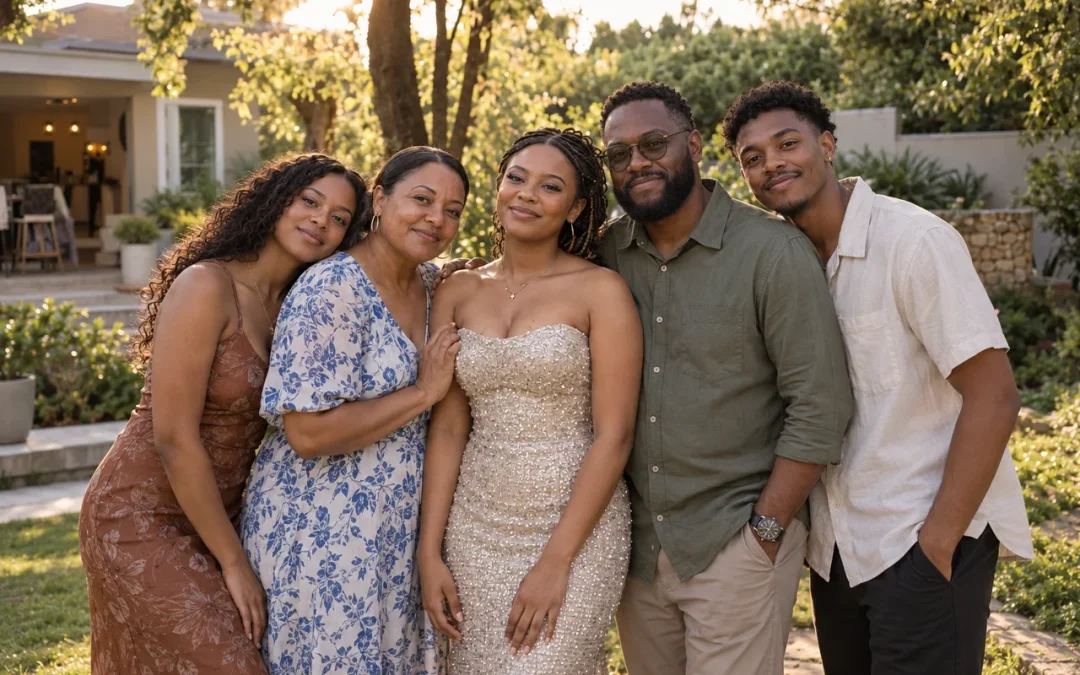
Think about the people and the finished photograph before choosing a panel. A backdrop for individual portraits may not need the same width as one used for a team photo. A couple standing side by side takes up less frame width than a family or work group arranged in two rows. The expected picture, rather than the event’s total guest count, is the useful starting point.
Write down the largest group you realistically expect to use the setup at one time. Include how they will stand: a single row, a couple seated in front, or a mix of heights. If the event calls for full-length portraits, mention that as well. The supplier can then consider both the visible width and the height of the camera frame.
Also decide whether the backdrop needs to appear from edge to edge in every photograph. If guests will stand close to the middle and the camera uses a tighter crop, a smaller visible area may work. If people will spread out, step to the side or pose in larger groups, ask for extra background around the edges. Do not assume the panel’s stated width is all visible in the final image.
Measure before choosing a photo booth backdrop size
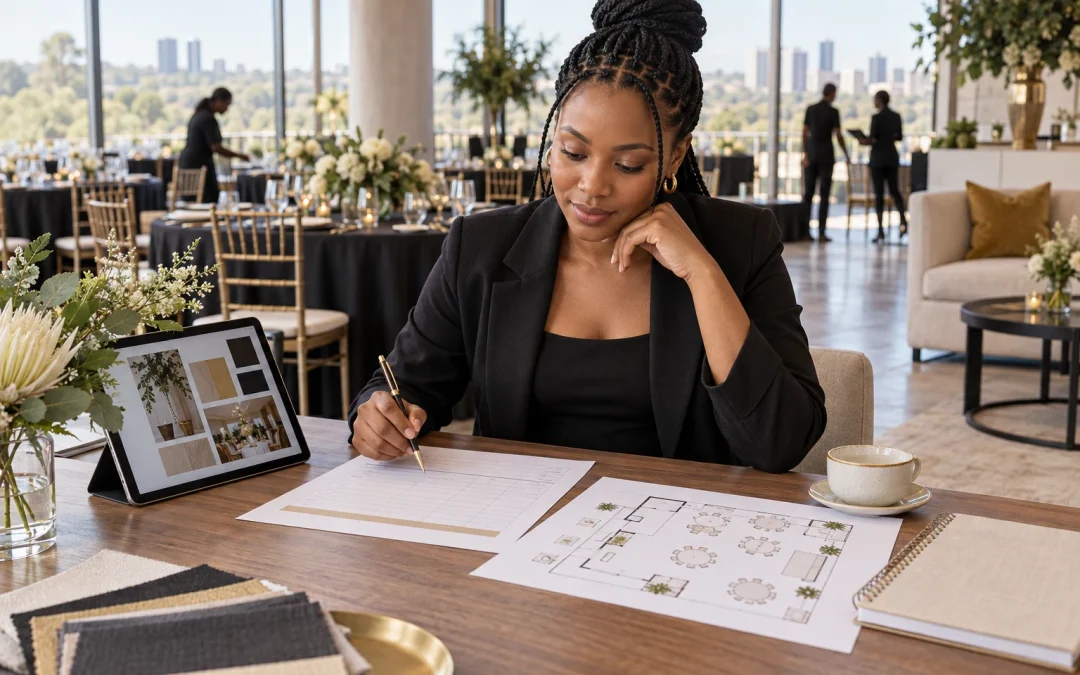
Measure the part of the room that can actually be used, not just the full length of a wall on the venue plan. Note the clear wall width and the height from the floor to the first obstruction. Check for doors, windows, columns, curtains, mirrors, wall lights, ventilation grilles, sockets, skirting boards, signage and furniture that cannot be moved.
For height, look above the panel as well as at the floor. A low ceiling, beam, chandelier, ceiling track or hanging decoration may affect where a stand can go. A raised stage, sloping floor or thick carpet can also change how the equipment sits. Photograph the proposed area from the direction guests will approach and from the direction the camera is likely to face.
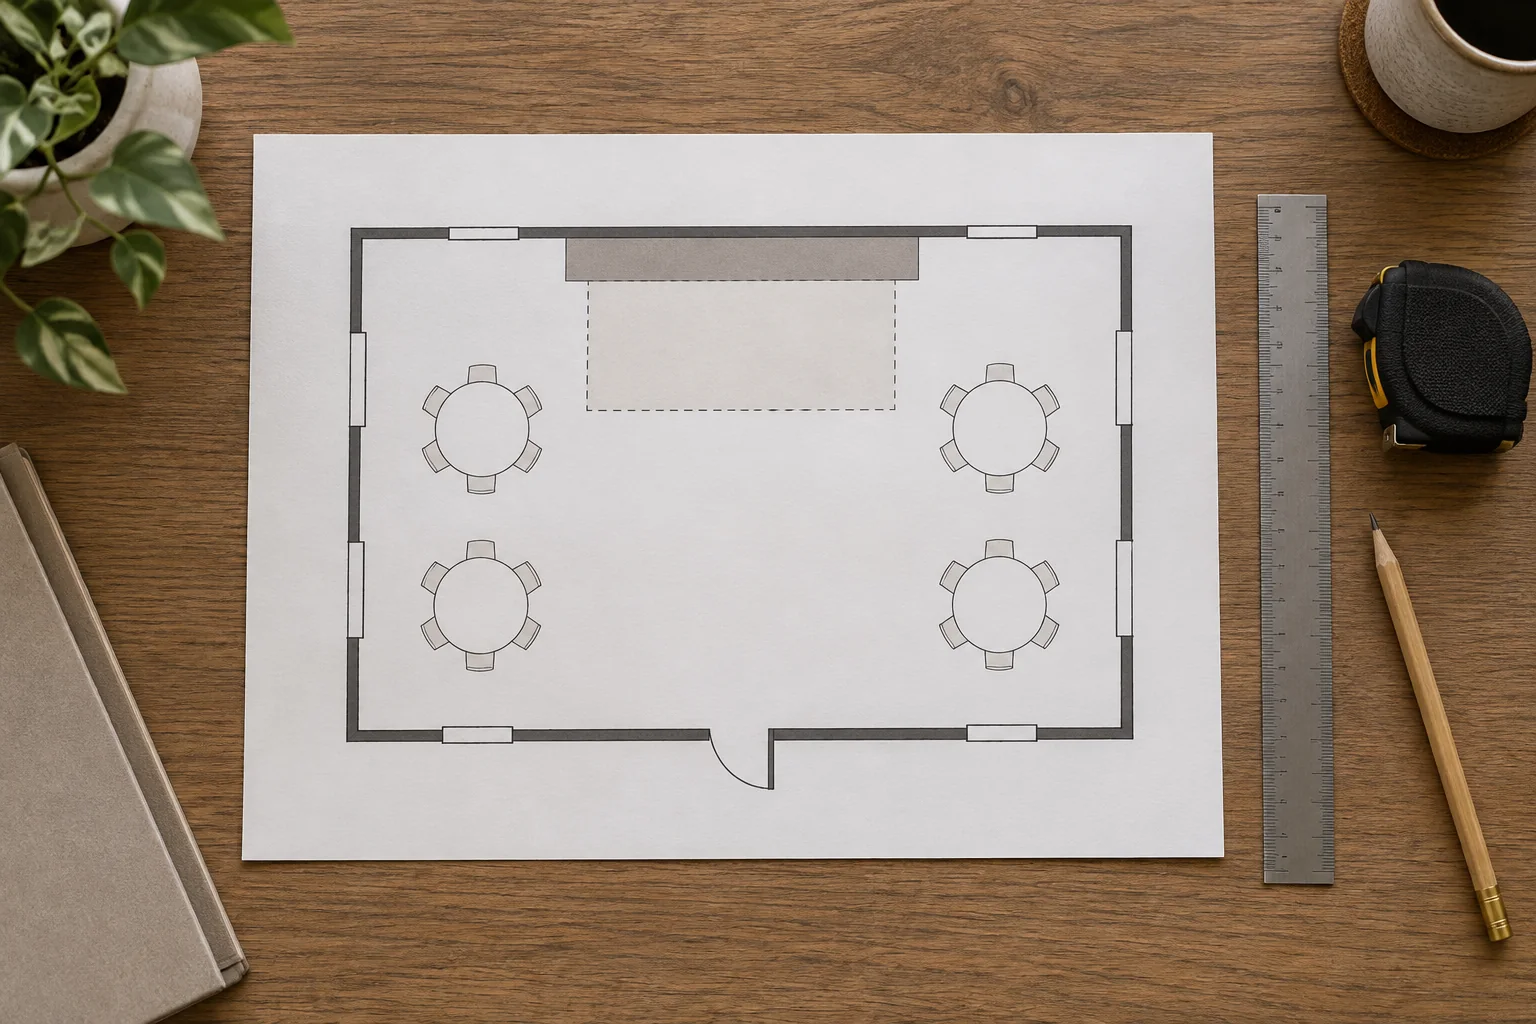
Measure the floor area in front of the wall separately. The panel may fit while the camera, lighting, operator and people do not. Leave room for guests to join and leave the photo area without blocking a doorway or the normal flow of the event. Ask the venue contact to confirm any installation rules before relying on a wall, ceiling point or floor fixing.
Check the photo booth backdrop size and the whole setup
Ask the supplier for the dimensions of the exact backdrop they plan to bring, including its support frame or stand. A fabric panel, a printed wall, a sequin surface and a freestanding feature can have different installation needs. Ask how much space the feet, base, lights and any nearby operating equipment occupy, and whether those parts extend beyond the panel edges.
Confirm whether the quoted measurement describes the material, the frame, or the image area that guests will see in the photograph. If there is a gap between the panel and the floor, or if the support is wider than the visible surface, get that explained before you make a room plan. Ask for a photograph or diagram of the setup rather than relying on a product name alone. A stated photo booth backdrop size only tells part of the story; the frame shows how much of the panel guests will see.
A flat backdrop and a booth’s working footprint are separate planning questions. If you are comparing booth formats, consider how each setup uses the available wall and floor area. For a 360 setup, the 360 photo booth space guide covers operating clearance and access, which are different from the width of a background panel.
Test the camera frame
The camera decides what guests will see behind them. Ask the supplier to show a test image or a simple frame diagram that uses the proposed backdrop, camera position and the largest likely group. A straight-on photograph from a similar setup is more helpful than a bare measurement when you need to judge whether people will fit comfortably in the composition. For background on how lens choice shapes the visible frame, see Canon’s guide to focal length and field of view. Ask the supplier to test with the camera they plan to use.
Check the sides and top of the frame. There should be enough background around the group that a person leaning in or raising an arm does not reveal a stand, bare wall or unrelated venue detail. If the group will form two rows, check the tallest people and the people seated or crouching. Ask whether the camera can be moved or widened if the first test looks tight.
Do not solve every framing problem by ordering a larger panel. The camera may crop the edges, while moving the camera farther away may require more floor depth. Ask the supplier which change makes sense for that equipment and venue. If the room is narrow, a different camera angle or backdrop position could be a better answer than a wider panel.
Fit the event and venue
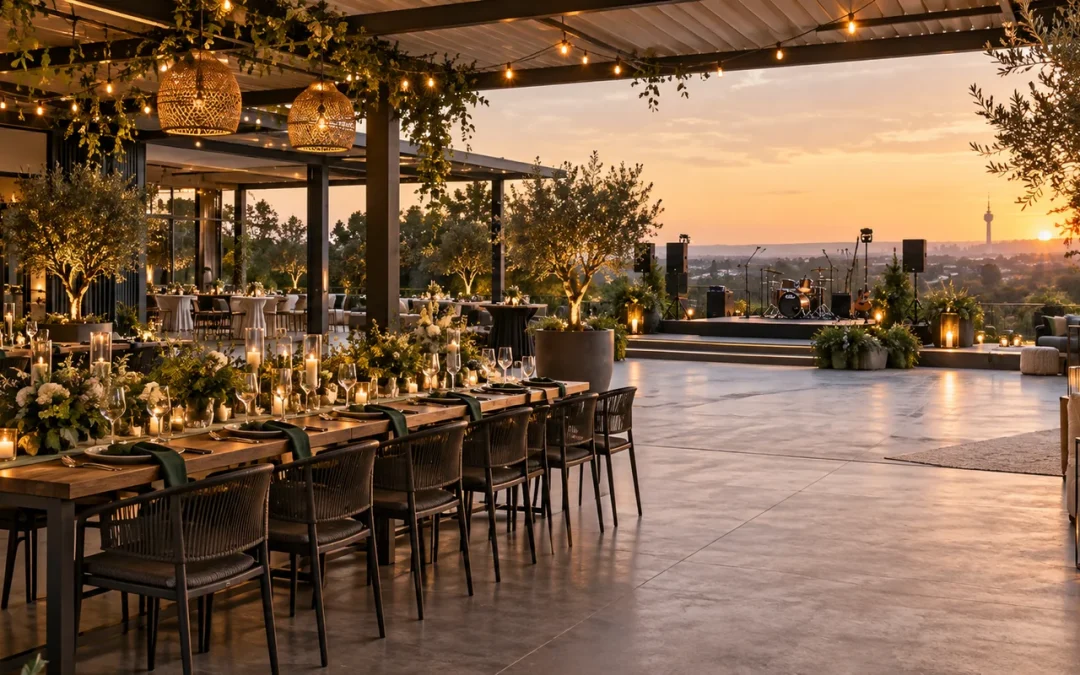
In a Gauteng hotel or conference venue, check the room plan against the table layout, stage, screens and catering area. A wall that is clear during setup may be needed later for service access or a presentation. Ask when the area must be ready and whether other suppliers will use it at the same time.
For a wedding, consider the room’s visual style as well as the group photograph. Colours, lighting and nearby décor can change how the background reads in the picture. The existing photo booth backdrop ideas guide can help with style and colour choices. Keep the size decision focused on the people, frame and available wall area. The wedding photo booth planning guide will help you place that setup around the reception timetable and guest-book flow.
At a private home or smaller function room, measure carefully around the furniture that will remain in place. A backdrop that fits between two walls may still leave too little room for guests to stand and for the operator to work. For a marquee or outdoor event, ask the supplier and venue contact to confirm the ground, shelter and fixing method. Do not assume a setup designed for an indoor wall can be installed in the same way outside.
For a birthday at home, our adult birthday party ideas built around guest interaction help you match the celebration to the guest mix and available space.
Plan for logos and branded details
If the backdrop includes a company mark, wedding monogram or event name, ask for a proof at the intended size. Place the important detail where it is likely to remain visible when people stand in front of it. A large logo at waist height can disappear behind a group, while a design close to the edge can be cropped from the photograph.
Share the expected group arrangement and camera frame with the designer. Ask which areas are safe for text or marks and whether the background will be printed, stretched or assembled from more than one panel. Review the proof at full size, not only as a small image in an email, and confirm the final spelling before production.
Send a clear brief to your supplier
A few practical details will make the recommendation more useful. Send the supplier:
- the venue name and room, plus a floor plan or photographs of the proposed wall;
- the clear wall width and the height to any beam, light, ceiling feature or other obstruction;
- the usable floor depth in front of the wall, including any fixed furniture;
- the largest group you expect to photograph and whether anyone will be seated or in a second row;
- whether the photographs should be full-length, waist-up, portrait or landscape;
- any logo, colour or event-detail requirements, with the approved artwork if available; and
- the venue’s installation rules, access times and the time the area must be ready.
Then ask the supplier to reply with the actual panel width and height, the visible area in the test frame, the full operating footprint and any access or installation constraints. If the room is close to the equipment limit, request a site check or a written confirmation that the proposed arrangement will fit before you finalise the layout.
Mistakes to avoid
- Choosing from a generic size chart. Treat online dimensions as examples until the supplier confirms the exact product and visible camera area.
- Measuring only the wall. The stand, camera, people and operator need space too.
- Planning for the average guest group. Use the largest group that is likely to use the setup, not every person attending the event.
- Forgetting height restrictions. Check lights, beams, hanging décor and the height of the people in the frame.
- Approving a logo without a photo test. A design can look centred on screen but disappear behind guests or outside the crop.
- Leaving the venue out of the conversation. Confirm access, installation rules and the final room arrangement with the venue contact.
Photo booth backdrop size FAQs
Is there one standard photo booth backdrop size?
Do not treat one advertised size as a guarantee that it will suit every booth, group and venue. Ask for the exact panel dimensions and the usable area shown in a test frame from the proposed camera position.
How should I choose a photo booth backdrop size for a group photo?
Start with the largest group you expect, how they will stand and how much of the image should show the background. Share those details with the supplier and ask for a sample frame. The group width alone does not show whether the camera crop or the room layout will work.
Is backdrop size the same as the space a photo booth needs?
No. The backdrop is the background panel. The operating area can also include its stand, camera, lights, operator and the space people need to use it. Ask for both measurements, especially when the venue has a narrow room or fixed furniture.
When should I confirm the measurements?
Confirm the dimensions while the venue layout can still be adjusted. If the supplier needs a site visit or an installation approval, arrange that before the room plan is treated as final.
Once you have confirmed your photo booth backdrop size, camera frame and venue access requirements, the setup is much easier to place with confidence. Share those measurements when you request a quote so the proposed setup can be checked against your venue plan.
Continue planning
Plan the wider venue layout
Compare Gauteng venue layouts, access and event flow before you settle the booth position.
Compare booth formats
See which Selfie Cube format suits your event and the way guests will use the space.
Explore photo booth hire
Review the available event options and share your venue measurements when you enquire.